Tutorial: How to Produce Broadcast-Quality Events with the NewTek TriCaster 40, Part 2
In the final installment of our two-part series on how to create broadcast-quality live productions with the NewTek TriCaster TC40, Jan Ozer demonstrates how to mix and stream your show.
By
Jan Ozer
Posted on September 30, 2013
This is the second of two tutorials demonstrating how to create a broadcast-quality live event with the NewTek TriCaster TC40, which was provided by this video’s sponsor, Videoguys.com. In the first tutorial, you learned how to select and configure the input. In this tutorial, you learn how to mix and stream the show itself.
The webinar I’m producing includes the following elements: full-screen video, picture-in-picture video, PowerPoint slides from a separate computer, full-screen and lower-third graphics, disk-based videos, pre- and post-show advertising and credits, transitions for all elements, and audio. In this tutorial, we’ll cover a few more interface elements and then run the show. Again, for more detail on the controls described here and how to configure them, see part 1 of this tutorial series on the TC40.
How to Switch the Show
During the show, I’ll switch between three primary elements: The full-screen video in Video 1, the picture-in-picture video in Virtual Input 1, and the PowerPoint video in Network Input 1 (Figure 1, below). (To see any of the images in this article at full size, just click on the image.)

Figure 1. The primary visual elements of our live show: full-screen video, PiP, and the PowerPoint.
I can switch via direct cut by clicking the input in the Program row (Figure 2, below), or by using the appropriate keyboard shortcut or key on the control surface.
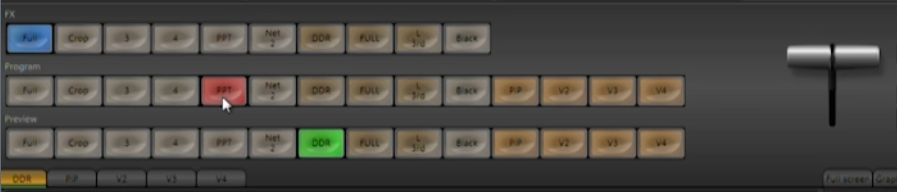
Figure 2. Switching by clicking the desired input in the Program row.
Inserting, Configuring, and Customizing Transitions
I can insert transitions between the inputs by selecting the target input in the Preview row and pressing either Take or Auto, or dragging the T-bar (Figure 3, below).
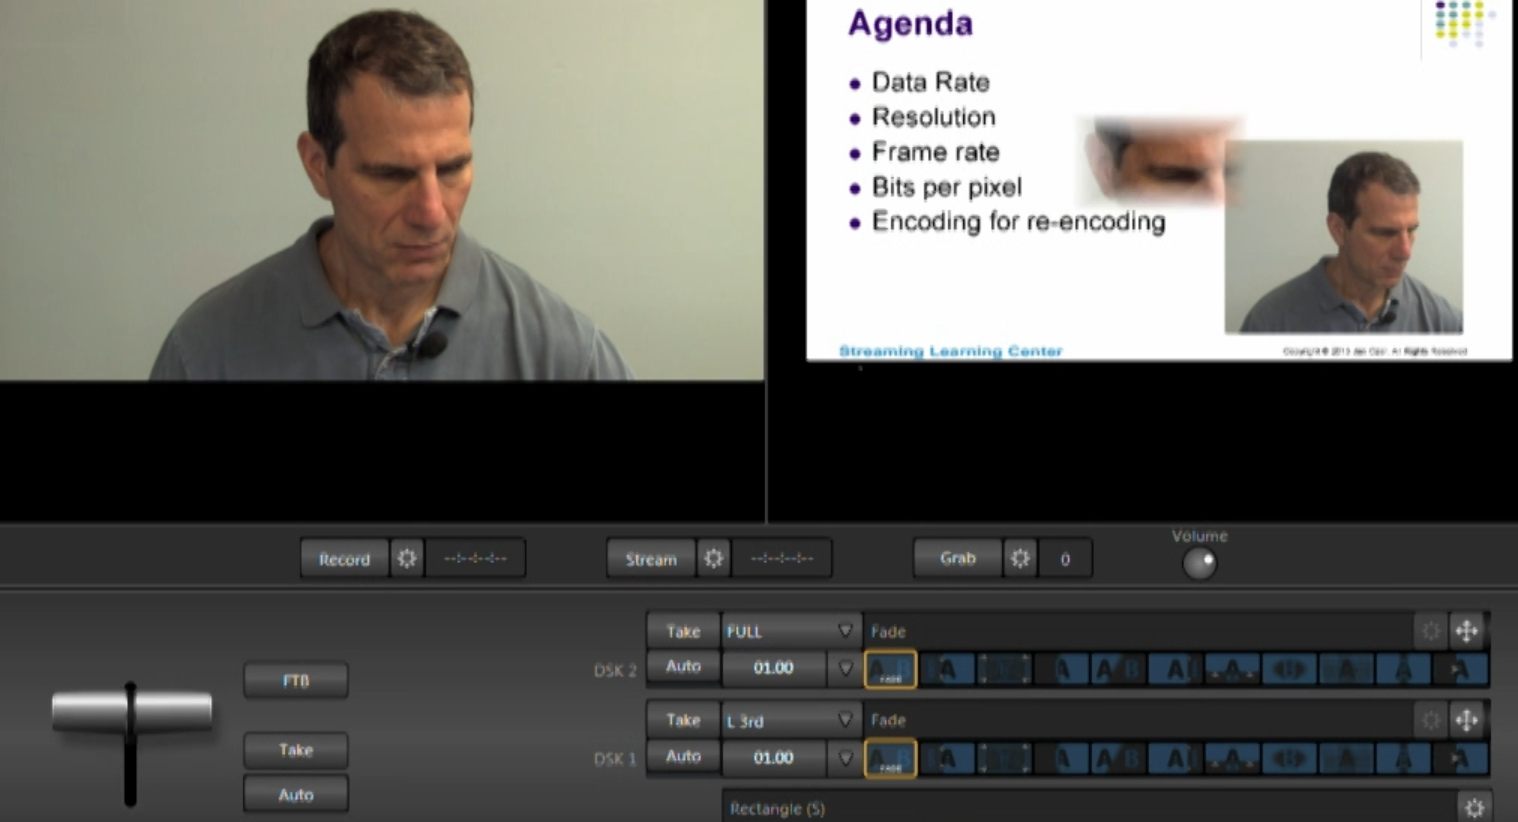
Figure 3. Inserting a transition by dragging the T-bar.
I select my transition and transition duration in the row shown in Figure 4 (below), with BKGD standing for background. More on that in a moment.
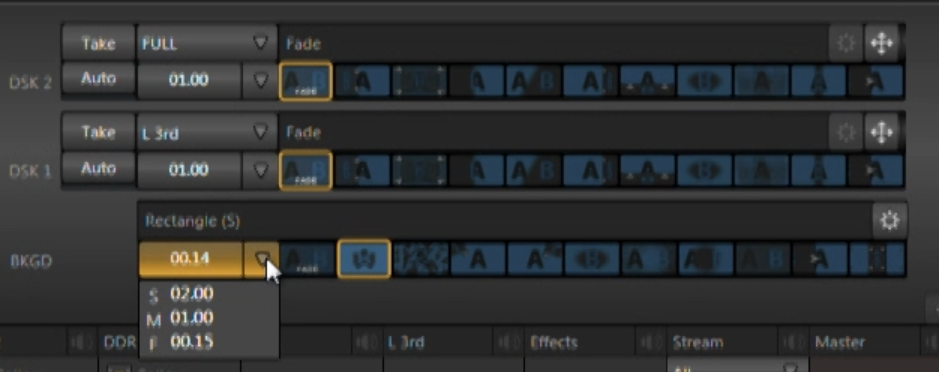
Figure 4. Selecting a transition and a transition duration.
I set transition duration with the menu shown in Figure 4, or by dragging the duration number shown in Figure 4 to the desired duration.
I can choose any transition in the row shown in Figure 4, or search for others in the media browser shown in Figure 5 (below). I use mostly fast fades in my events, but if you want a more distinctive look, as you can see in Figure 5, you’ve got lots and lots of options.

Figure 5. Transition options available in the media browser.
Once you’ve selected a transition, you choose your customization options in the dialog shown in Figure 6 (below).

Figure 6. Transition customization options.
Related Articles
In this tutorial, Jan Ozer demonstrates how the NewTek TriCaster Mini delivers portable, affordable, and full-featured live production to producers using HDMI cameras.
NewTek's latest addition to the TriCaster line is a slim form factor, power-packed SDI-only solution.
With Rundown Creator's TriCaster integration, title templates, graphics, audio clips, and video clips on your TriCaster all show up automatically in Rundown Creator, and inserting them into your scripts is as simple as selecting the one you'd like in the Script Editor.
Three new models—TriCaster 860, TriCaster 460, and TriCaster 410—along with major enhancements to the company's flagship system, TriCaster 8000, will be available September 12, just before IBC 2013
In two tutorials Jan Ozer will show you how to create broadcast-quality live productions with the NewTek TriCaster TC40. In this first installment, you'll learn how to select and configure the inputs. In the second, you'll learn how to mix and stream the show itself.