Tutorial: Bundling Destinations for Multiple Exports in Apple Final Cut Pro X
One of the most convenient new features in Final Cut Pro 10.0.6 is the ability to quickly and easily export to a single destination, or a bundle of destinations, that contain multiple outputs. In this tutorial, you learn how to create a single destination and a bundle of destinations.
Now you need to enter your credentials. Click "Remember this password in my keychain" so you don't have to enter it each time you use the bundle (Figure 13, below). Final Cut Pro verifies your login information and then closes the dialog./
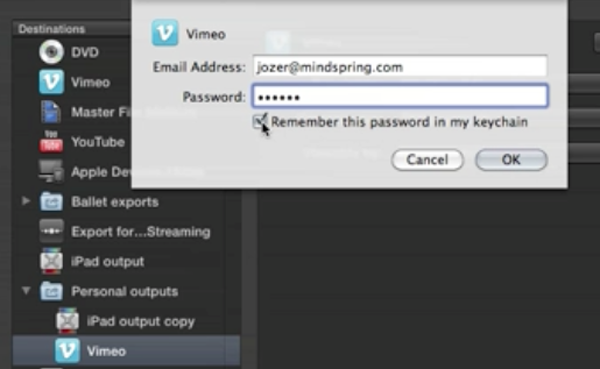
Figure 13. Entering Vimeo credentials
Then choose the encoding parameters you want to use. I'll choose better-quality and make the video public (Figure 14, below).
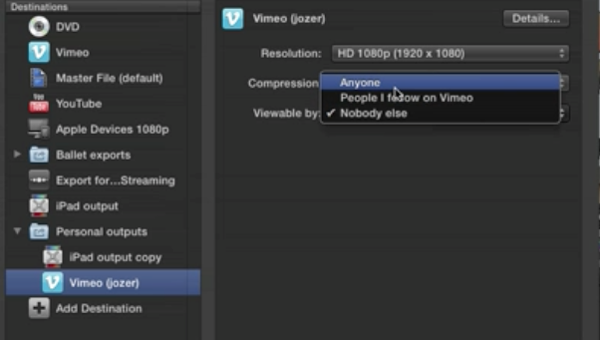
Figure 14. Choosing Vimeo settings
Next we'll do the same for YouTube. Click the YouTube icon, then drag that into the bundle. Again, fill out your account name and password, and choose "Remember this password in my keychain" so you don't have to enter it each time. Final Cut Pro verifies your login information and then closes the dialog. Then choose your upload parameters as before-good quality, public-and choose a category from the pull-down (since my video was of a trip to New Orleans, I chose Travel & Events).
Accessing and Fine-tuning the Bundle
Once you've created all your bundled Personal outputs, close the Destination Preferences window. (Note that if you want to access it directly, you can access it in the Preferences window along with the rest of your Editing Preferences).
The next time you want to use this bundle of destinations, choose File > Share > Personal outputs (Figure 15, below).
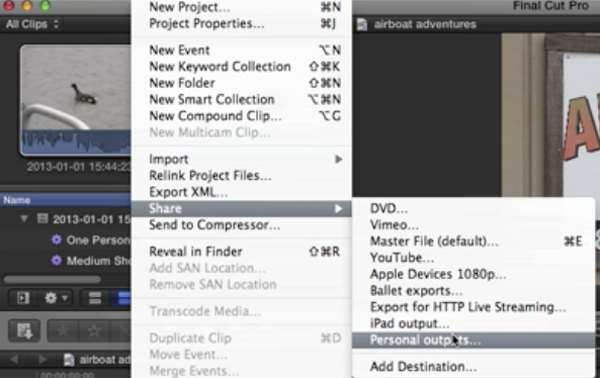
Figure 15. Accessing the bundle
Once you've chosen this bundle, the bundle dialog shown in Figure 16 (below) appears. You can change any of the settings that you configured into the bundle by clicking down at the bottom of the dialog.

Figure 16. Duplicating the iPad Output preset
If you want to add a tag, you can do so in the Tags field of the Info tab, visible in Figure 16 (above). If you want to change the settings, you can do so in the Settings tab, as shown in Figure 17 (below).
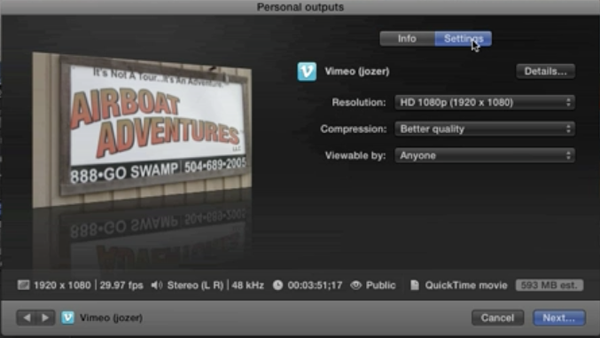
Figure 17. Adjusting export settings in the Settings tab
Same deal with YouTube. If you want to change the settings, you can do that in the Settings tab. If you want to add some information, you can do that in the Info tab.
Related Articles
In this first installment of our new tutorial series, Glen Elliott demystifies Final Cut Pro X, illustrates its core functions, and focuses on one of the most powerful new features for organizing, accelerating, and streamlining your edits: metadata keyword tagging.
Background noise and pops and clicks in audio are an unfortunate fact of life for many productions. In this tutorial we'll explore some fixes you can try in Final Cut Pro X.