Tutorial: How to Make Your Logo Wiggle in Adobe After Effects 2015
The wiggle effect is a common look that editors use to enhance and add some randomness to a logo, text, or graphics. This tutorial demonstrates two quick ways to accomplish this look.
Welcome to this tutorial on adding a wiggle effect to your logos using Adobe After Effects Creative Cloud 2015. The wiggle effect is a common look that editors use to enhance and add some randomness to a logo, text, or graphics. I’m going to show you two quick ways to accomplish this look.
First, let’s start with a new After Effects project. I’ve created a composition that has a piece of stock footage as my background (Figure 1, below). As you can see in the video that accompanies this article at the 0:30 mark, this stock footage has a high-paced energy to it, and the wiggle effect will match up perfectly with this. I have a logo that's sitting on top of this background, and right now, the logo doesn't have any kind of movement applied to it.
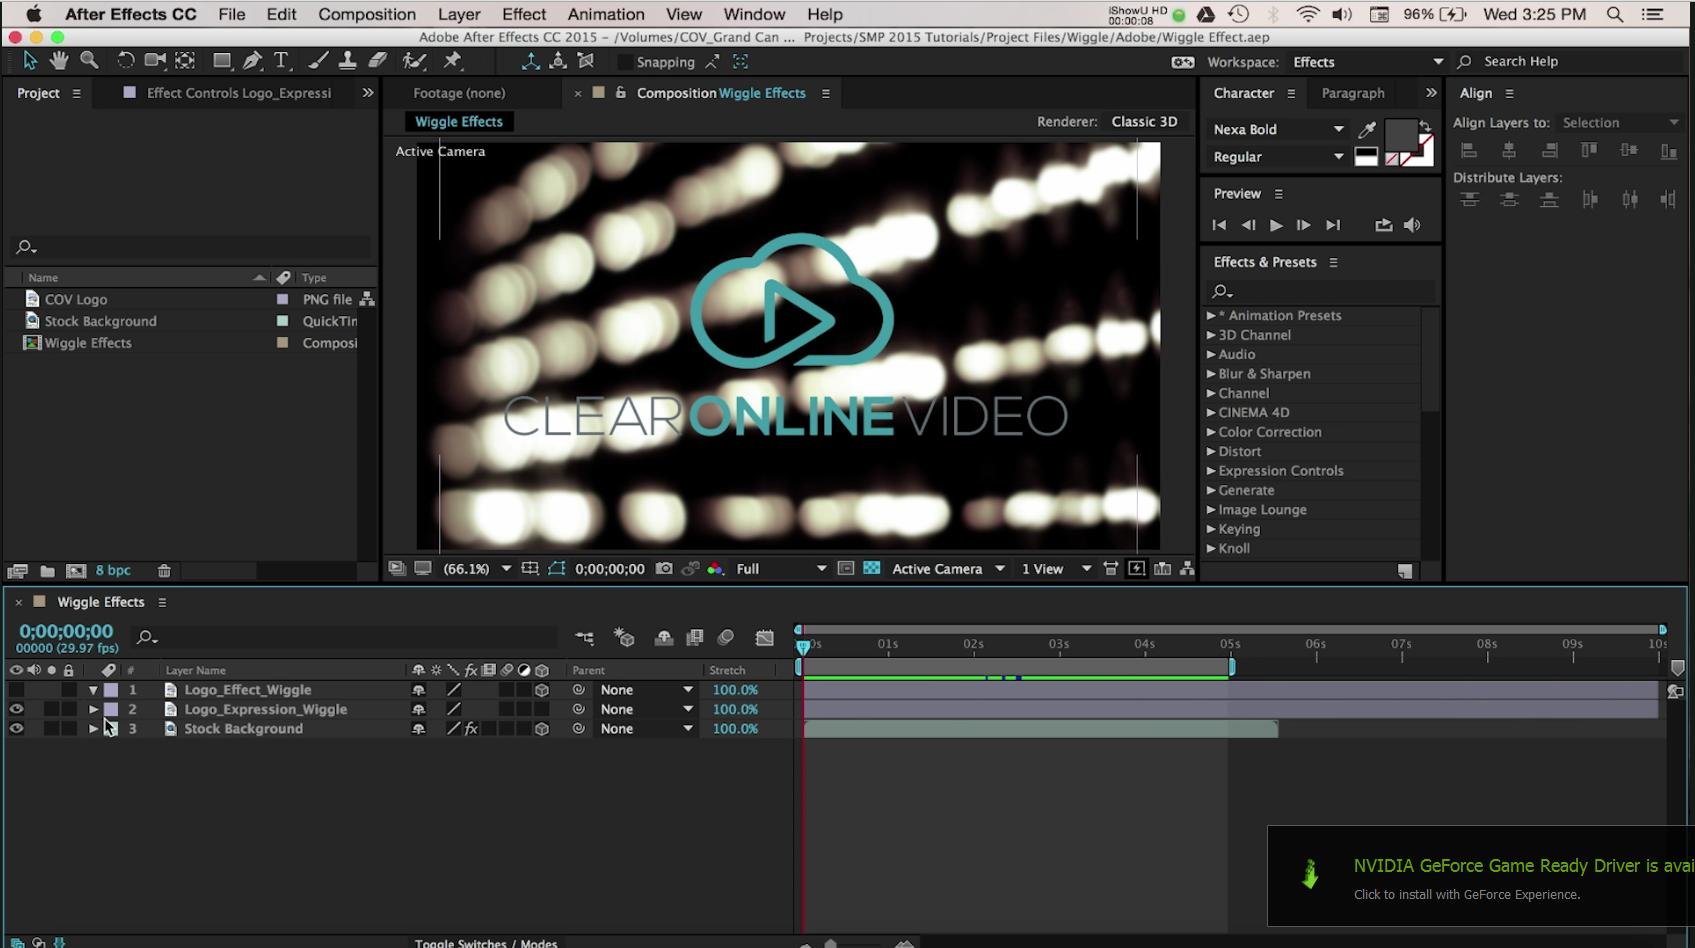
Figure 1. The After Effects comp we’ll use in this example. Click the image to see it at full size.
Using Expressions
The first way I can add a wiggle effect to the logo is with the use of Expressions. In a nutshell, these are mathematical formulas that you can use to animate objects in After Effects. Now, it may sound daunting, but it's really pretty easy, and After Effects does the math for us.
Open the logo's Position properties by pressing the P key on the layer. Then, press the Option key (Mac OS) or Alt key (Windows) and select the Stopwatch button. You;ll see that the position values will turn red if you've done this correctly.
Next, click in the area where it says Transform Position. Here we will enter our expression. I'll type in "wiggle," followed by a formula of [4,25], as shown in Figure 2 (below). By typing this, I've told After Effects to wiggle the logo 4 times a second at a motion of 25 pixels.

Figure 2. Entering the Expression. Click the image to see it at full size.
Once you have your values entered, click outside of the box area to apply them. You can see a RAM preview of the effect in the tutorial video at 1:31. Now, you can adjust the formula as needed. Of course, we could have also done this manually with keyframes, but you can see how much quicker using an Expression was. There are a ton of complicated Expressions out there that you can use. Just do a search for "After Effects expressions" to start exploring them.
s for videos, looping logos, and even events. Give it a try in your next creative project.
Related Articles
Clear Online Video's Stjepan Alaupovic demonstrates how to spotlight text in your projects using animated lighting effects with this simple technique in Adobe After Effects CC 2015.
This tutorial demonstrates a nice way to highlight key words, titles, logos, and lower-thirds within your video graphics using a simple workflow in After Effects CC.
Instagram is quickly emerging as one of the top social media video platforms in online video, and "Instagram looks" have become instantly recognizable to social media users. In this short tutorial, I'll demonstrate how you can achieve some of these stylized filtered looks in your videos by using gradients in Adobe After Effects.
In this tutorial we'll look at using shape layers to create, customize, and animate lower-third graphics with Adobe After Effects CC 2015.
Often as video editors, we're tasked with adding motion and life to the logos of our clients we are working with. This tutorial is going to show you a cool approach to inspire some ideas for your next project.
This tutorial will describe a fog effect you can create to add some drama to your footage or alter the weather of your shot.
Gradients are a popular effect used in both broadcast and online video. You can use them to isolate something in your image, or add some style to your graphics and videos. This tutorial will demonstrate how to create and apply gradients in After Effects CC 2014.
This tutorial demonstrates a versatile and flexible technique that will match animations between layers you choose to connect to enhance, simplify, and accelerate your animation process.